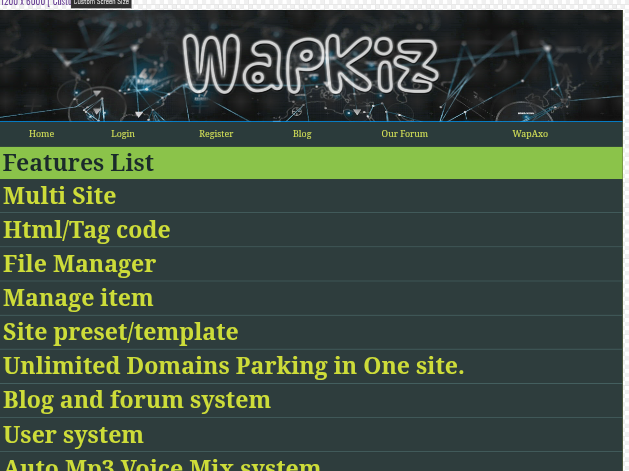
Perhaps many have already asked what the first steps are after creating a website or installing a theme on the wapkiz and wapaxo website. Here are some tips that were important to me and I think it might be important to you too.
1. Change the opening tag from HTML4 to HTML5.
It seems that the wapkiz site was made at the time of HTML4, but they could even change it to the current HTML5, which was not possible, that's why in the opening tag you still find the old one, which creates confusion in keeping the site responsive, for that just go to the site's settings, in the Opening Tags field, delete the code that appears and paste it below.
.png)
.png)
Copy the code:
<!DOCTYPE html>
 <html lang="en">
Where the lang="en" attribute goes depends on the language of your site, learn more.
2. Setting up the site's logo.
In the same site definition, in the "site logo" field, insert your logo or site name.
.png)
To display the logo on the site, just type the code :*logo: anywhere'' on the site.
If the logo field is empty, the full URL of the site will be displayed.
3. Changing the site's CSS style code.
A true webmaster always has a desire to tweak the style, perhaps to change the background color, text or links etc. For this you can change your css, this in the site panel, see the example below.
.png)
4. Changing blog threads and file folders.
In most templates, folder 0 comes as standard in the files, just go to the files page if your site has it and configure it to your liking
[fm]d=0, o=u, l=12||....[/fm]
In the case of Blog, to change the thread at your discretion, just change the value of bind.
[blog]bind=post, o=u, l=12||....[/blog]
.png)


0 Comments
Leave a Reply