Hello, content creator!
So, you've taken the first step and created your website on the Wapkiz platform. Excellent! Now, it's time to bring it to life with relevant content. Whether you want to announce products, share your services, or simply write about a topic you're passionate about, a blog is the perfect tool for the job.
If you're asking yourself, "How do I start writing my posts?" don't worry. On Wapkiz, the process is surprisingly simple. This guide will walk you through creating your first publication, step by step.
Step 1: Accessing the Blog Section
To get started, the first thing you need to do is navigate to your blog's management panel.
- In the main menu of your Wapkiz dashboard, find the Manage section.
- Click on Bloglist.
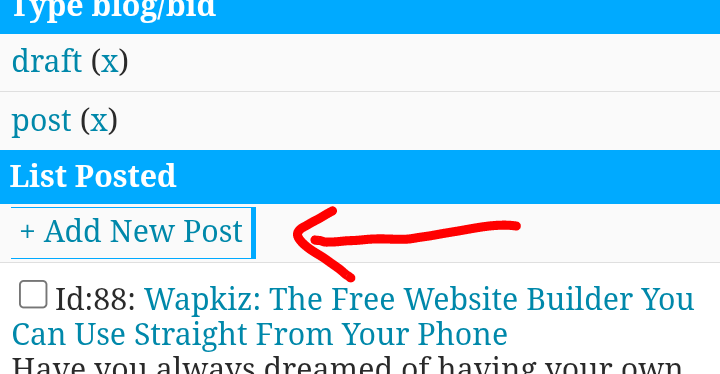
This will redirect you to a page listing all your posts. If it's your first time, this area will be empty, just waiting for your ideas. To start writing, click the (+Add New Post) button.

Step 2: Filling Out the New Post Form
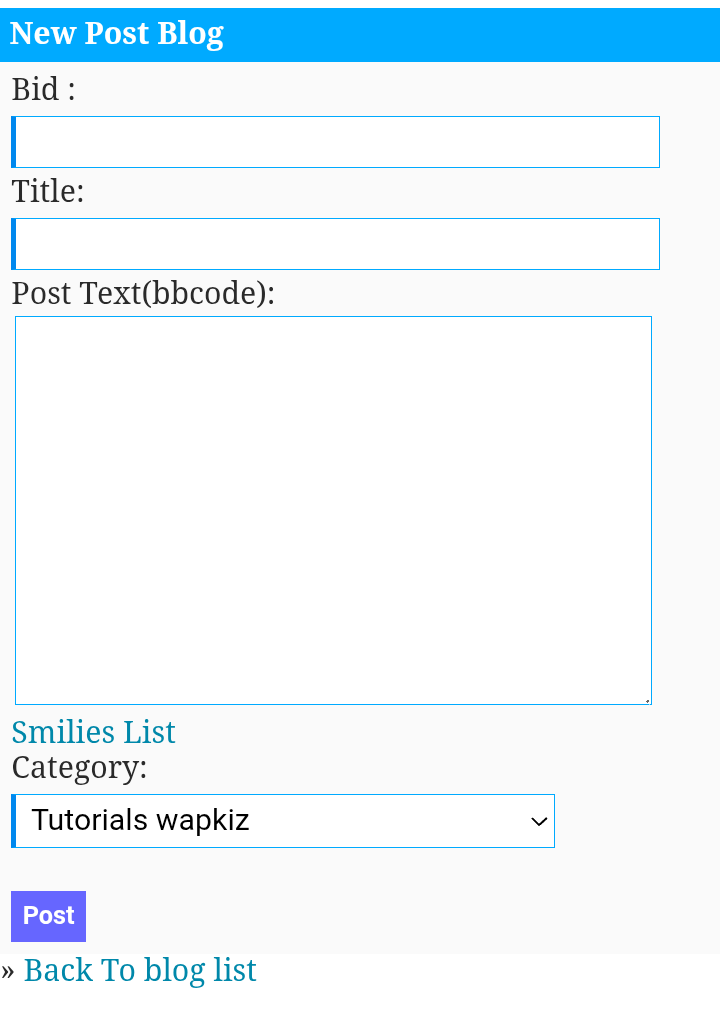
After clicking "+Add New Post," a new page with a form will open. This is where'''' the magic happens! Let's fill in each field to create your post.
On mobile:
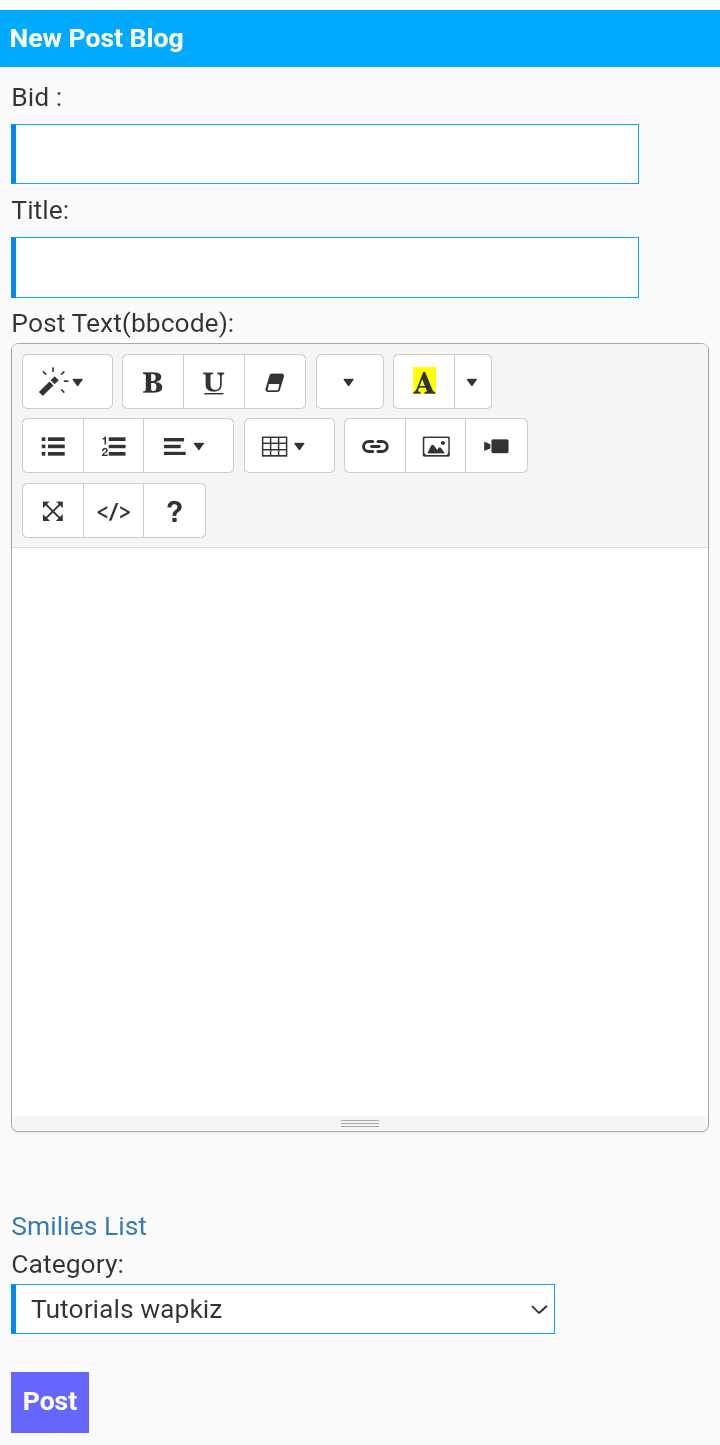
On desktop:
Let's break down what each field means:
Bid
Think of the "Bid" as an identifier or a grouping ID for your posts. It allows you to subdivide your content. For example, you could use blog for regular posts, news for updates, or announcements for promotions.
Tip: Use a short name and do not use spaces. This helps keep everything organized internally.
Title
This is the title of your post. Create a title that is clear, engaging, and accurately describes the content.
SEO Tip: Try to keep your title to 60 characters or less. Shorter titles tend to perform better in Google search results.
Post text (bb codes)
This is the body of your article, where'''' you'll write your main content. This text box is quite flexible and accepts:
- BB Codes: Simple codes for formatting (e.g.,
bold text). - HTML: For those with more technical knowledge who want advanced formatting.
- JavaScript: For interactive features.
If you are using a computer (desktop mode), Wapkiz provides a Bootstrap-based rich text editor that makes formatting a breeze, allowing you to add bold, italics, lists, and more with just a click.
Category
Here, you select the category your post belongs to. Categories are essential for organizing your site and helping your readers find similar content.
No categories yet? No problem! If you haven't created any, the form will provide a link for you to easily create new ones.
Step 3: Saving and Publishing
After you've filled in all the fields and reviewed your text, the final step is to click the button to save the post.
Important: On Wapkiz, publishing is immediate. There is no "Save as Draft" option. As soon as you click save, your post will be live and visible on your site. So, make sure everything is ready before you do!
Managing Your Posts After Publication
What if you've published your post but found a typo or want to update some information? It’s very simple.
Go back to the Manage > Bloglist page. In your list of posts, you will find available actions like Edit or Delete right below each title. Just click the desired action to make your changes.
Next Steps: Advanced Customization
Congratulations, you now master the basics of creating posts on Wapkiz!
But the possibilities don't end here. Did you know you can add extra information fields, like a summary, a featured image, or an author's name, by using the variables function? This is a more advanced topic that will give you full control over the look and feel of your posts.
We'll cover how to use variables in a future post. Until then, start practicing, create your first articles, and give a voice to your project!
Did you enjoy this guide? If you have any questions or want to share a link to your first post, leave a comment below!

0 Comments
Leave a Reply